

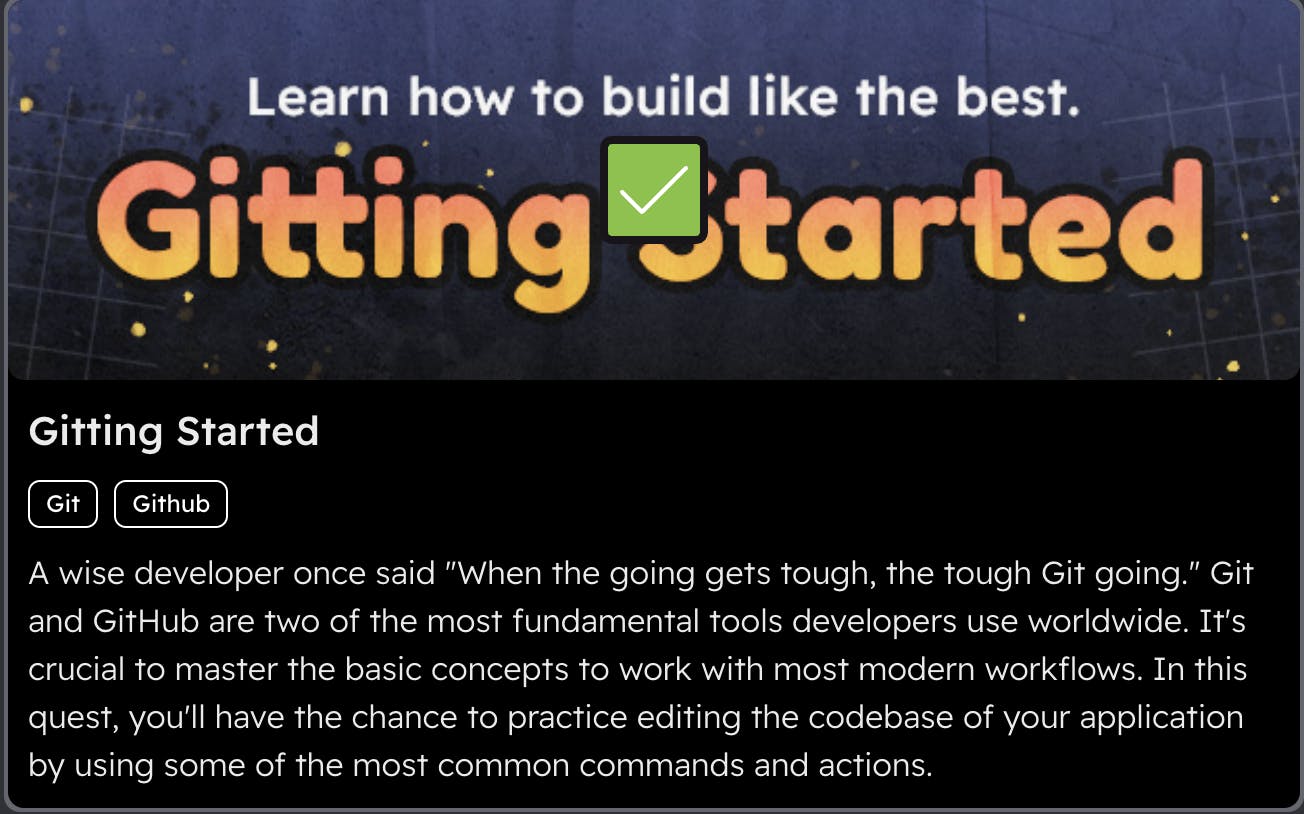
The gitting started quest ensures the mastery of the basic workflows of Git and GitHub by practically editing the codebase with common commands and actions.
I thought it was best for me to get experience working with cloud-based tools and gain experience in how to utilize them if I'd ever need to work with them. So, that was the first thing that I did was run the command ./start_quest.sh within the IDE.
I then cloned the repo onto my local machine from GitHub by visiting the repo, clicking the large green button labeled Code, copying the remote link, and using the git clone command git clonegit@github.com:ObelusFamily/Anythink-Market-1r9hhmhw.git .
I was tasked with making some quick changes to the codebase by adding a file title CODEOWNERS.txt and filling in the persons responsible for the codebase that was provided to me by Ness.
Then that led me to create a new branch, add the file to the root directory that we just cloned, commit the changes and push it to GitHub.
How did I do that?

Feel free to check out the GitHub documentation here.
To create a new branch within my terminal, I used the command git checkout -b [name of your branch].
Note: What I do when creating a branch from my experience working on a team of developers is by writing my name followed by a forward slash and the feature or fix separating words with dashes.
For visual purposes:
//creates a branch
git checkout -b deesclouds/add-codeowners

//to see branches we have access to
git branch

//to see what changes are ready to be added to the stage area
git status

//add CODEOWNERS.txt to the stage
git add CODEOWNERS.txt

//commit our changes
git commit -m 'add file with people responsible for codebase'

//push our changes from our local repo to the remote repo
git push origin set--upstream
Open a pull request so Ness can review it and let you know when it's approved to merge the branch made into the main branch for production.
How to open a pull request?
I usually do this within GitHub since it's currently the easiest for my workflow. Navigate to the Pull Request tab, click New Pull Request, write the description of the actions you took to fix the issue, and click Create Pull Request.
For example, I wrote:
Added the CODEOWNERS file to let everyone know who is responsible for the code and who should be reviewing changes.
Ness will review your pull request and if it is approved you're then able to merge it.
After adding the file, Ness says the file was outdated and we need to remove Carl from the file and push that change. This is to get used to utilizing Git and GitHub.
Within your text editor edit the file by removing Carl from CODEOWNERS and use git add -p this adds patches of changes that you've made within your codebase, type y , to stage that patch git commit -m 'removed Carl from file' , and git push .
Then create another pull request as we did before.
Once Ness approved your PR, merge it then...
Aye! Quest completed!